Pin It
I have been busy this week making St Patty's Day cards and Pots of Gold (I made those last year...
click here to see) for Joe's Aunt Margie. Here are five of the cards that I made:
Card 1:
Inside:
Card 2:
Inside:
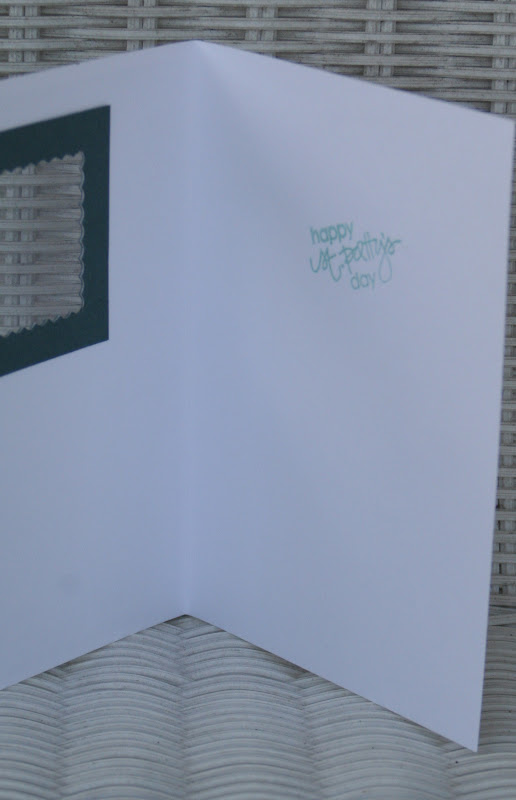
Card 3:
Inside: (you can see the window)
Card 4:
Inside:
Card 5:
All Finished Cards: 4 1/4" x 5 1/2"
Card 1 Materials:
Cardstock: Green, Yellow and Patterned Paper
Cricut Cartridge Paper Doll Dress Up Leprechaun (Shamrock), page 40 (Accessories 3 Shift)
Cricut Design Studio (Welded 2 Shamrocks together to get a 4 leaf clover)
Fiskars 3 in 1 Corner Punch
"Bakers Twine" made from Aunt Lydias Crochet Thread and Spectrum Noir Green Marker (Please
click here to see the tutorial from The Alley Way Stamps)
Studio G Clear Stamp "Friends are like a four-leaf clover hard to find, Lucky to have"
Green Pigment Ink
White Pigment Ink
Green Button
Mounting Tape
Card 2 Materials:
Cardstock: Olive Green, Bright Green and Patterned Paper
Martha Stewart Punch All Over the Page, Rose Window
Large Circle Punch
Studio G Clear Stamps " Luck of the Irish" and "Happy St Patty's Day"
Black Pigment Ink
St Patrick's Day Handmade Stickers (Walmart)
Mounting Tape
Card 3 Materials:
Cardstock: Hunter Green and White
Martha Stewart Punch All Over the Page, Scallop Square
Clear Plastic (for window opening)
EK Success Scallop Punch
Martha Stewart Punch All Over the Page, Rose Window (Inside Scallop Circle)
Studio G Clear Stamps "Happy St Patty's Day" and Shamrock
Green Pigment Ink
Versa Mark Watermark Stamp Pad
Queen and Co Rhinestones, Grass Green 3 Large
Mounting Tape
Card 4 Materials:
Cardstock: White and Three Shades of Green
Free Digital Image, Shamrock
Spectrum Noir Markers
Studio G Clear Stamps "Erin Go Brach" and "Happy St Patty's Day"
Black Pigment Ink
Queen and Co Pearls, Grass Green 6 Large
Mounting Tape
Card 5 Materials:
Cardstock: White, Two Shades of Green and Patterned Paper
Cricut Cartridge Spring Holiday Cards, Button 11 and 31
Cuttlebug Embossing Folder D'Vine Swirls
Nicole 500 Stickers St Patrick's Day, 4 Tiny Round Stickers
Queen and Co Rhinestones, Grass Green 1 Large
I would like to also share a card that my granddaughter (age 2), Gianna, and I made: (she placed all the stickers):
She had so much fun!
I am also going to enter Card 1 into two challenges:
Fantabulous Cricut (Make a project with a Shamrock or the color Green) and
Bitten By The Bug 2 (Shamrock and the color Green).
Thanks for stopping by...leave a comment...
imagine what you could do....


