Showing posts with label EK Success Scallop Circle. Show all posts

Saturday, March 23, 2013

Making the "Scallop" Flower

On the post from yesterday, (scroll down to see), I had a flower on top of my cake box. Several people asked for more directions on how to make it. So, I put this together and hope you will be able to follow:

1.  Punch out 9 scallops (I used 9 different colors so you could see where they go).


2. Put one scallop aside...this is for the base. Take another scallop and fold in half.


3. Fold in half again.


4. Then in half once more. 


5. Repeat steps 2, 3 and 4 with the other 7 scallops. Remember to fold each scallop so that the "flaps" are going in the same direction.


6. Start to glue the pieces down on the base. 


7. Finish gluing all the scallops pieces down. (The "flappy petals" should all open up the same way...if not, then take it off and refold).


8. Pick out something to use for a center...I have a pom pom for this flower. Put glue (I use Tacky) in the center, then place the pom pom in the glue and let dry.


Here is the finished flower and 2 other ones that I made. With the other two, I used patterned paper and buttons for centers).


I hope you were able to follow my directions. It is pretty simple to make. If you decide to try it, let me know how you make out. Thanks. Good luck.

imagine what you could do...

Friday, June 22, 2012

Digi Haven Challenge #3 Summer

If you are looking for the CardzTV Challenge, click here.


When I think of summer, I think of the beach. I love the beach!...sitting and listening to the waves crashing down on the sand and a cool ocean breeze...aahhhh...How about you? I hope I able to get there this year.

At Digi Haven this week, the challenge is Summer. Use any FREE Summer/Beach/Surf image that you like. As soon as I saw this little cutie, I knew exactly what I wanted to make.


Wish I was there right now......

Finished Card: 4 1/4" x 5 1/2"

Materials:
Cardstock: White, Yellow, Teal, Teal Patterned and Sandpaper (Yes, I said Sandpaper lol)
Melonheadz Illustrating Digital Image
Spectrum Noir Markers
CardzTV with Mary Clear Stamps FAQ's, "Guess  Who?"
Black Pigment Ink
EK Success Scallop Circle Punch
Jolee's Boutique Sticker San Francisco, Crab
Thin Black Marker

After I colored her in, I fussy-cut her out. I made the waves by tearing the paper into strips and layering them on top of each other. The birds are drawn with a thin black marker. The "sand" is 100 grit sandpaper. The sun and the girl are single mounted.

I thought I could use this card for a number of different things...birthday, just because, congratulations...depending on the sentiment I choose for the inside.

Hope you join the challenge...remember to link back to the original artist for the image.

Thanks.

imagine what you could do...


Saturday, March 3, 2012

A Bunny "For You"

Pin It

There's been a lot going on around here for the last week or so. You knew that my youngest was in an accident (again, he was fine), but the Explorer was totaled. So we were starting to look around for a car for him and dealing with the insurance. Well, twelve days after Jeff's accident, my middle son's car just died. Not really wanting to put any money into a car that had over 170,000 miles on it, we were left with trying to find two cars. (Oh, the joy!) Thankfully to my husband and a lot of man hours, we now have two "new" cars...a 2008 Jeep Patriot for my youngest and a 2006 Nissan Altima for my middle son (...and two car payments for us...lol)

With all of that, not a whole lot of crafting going on around here. However, I was able to make one for The Paper Variety this morning. It's a "Tic Tac Toe" challenge. I picked "Create A Card",  "Use Two Border Punches" and "Spring Theme". Here is my card:


Finished Card: 4 3/4" x 6"

Materials:
Cardstock: White, Yellow and Green
Free Vintage Stamps, Digital Image, Rabbit
Spectrum Noir Markers
Recollections Border Punch Dotted Line
Martha Stewart Border Punch String Lace
EKS Scallop Circle Punch
Fiskars All Year Greeting Clear Stamps, "For You"
White Pigment Ink
Green Pigment Ink
Thin Green Ribbon
Mounting Tape

I mounted the "For You" Flower, the Bunny and the Lace border. (I think you can see the shadows from the layers). I really like the way it came out. What do you think?

Well, back to the craft room....thanks for stopping by.

imagine what you could do...

Monday, July 25, 2011

Fantabulous Cricut Challenge "Melon Time"

This week at Fantabulous Cricut, the challenge was "Melon Time" (Make a project with fruit or a melon on it).  I made an invitation with some napkin holders.


Finished Card: 4 1/4" x 5 1/2"

Materials:
Cardstock: White, Green, Red, Black and Green Checked Patterned Paper
Cricut Cartridge Stretch Your Imagination Watermelon, page 34 (Base, Layers Base and Blackout Base)
Cut at 3 1/2" for Invitation and 2" for Napkin Rings
1/2" wide Green cardstock strips for Rings (Adjust length for size of napkins)
Cricut Design Studio (To cut multiple melons at the same time)
Glossy Accents (on seeds)
Green Ribbon
White Pigment Ink (to make the "Rind' on Melon)
EK Success Scallop Circle Punch (for "teeth" marks)
Computer Sentiment
Mounting Tape

Fairly easy project so you can make several invitations and napkin rings without too much trouble. I wish the photos showed how shiny the seeds look from the Glossy Accents. I even added it to the small melons. For another idea, you could change the sentiments and make this into a "Thank You" Card...quick and easy.

Haven't been around cause things are still crazy around here...I was hoping it would be back to normal by now. I thought my hours were going to change at work, however, they haven't as of yet. We'll see when it happens.

Just so you know, two of my sons are trying to kill me (lol)...My youngest bought a motorcycle (yikes) AND on the same week,  my youngest and my middle sons went skydiving (double yikes). I could never do it!!!


Proof that they made it back safe.

The garden is thriving...tomatoes of every size, cucumbers, peppers, and string beans. I did finally get all my flowers planted (only took 2 months longer than expected). Now I just hope that the heat wave we are in right now doesn't kill them.

I have felt that my creative juices were on vacation for quite a while also. (Too bad that they didn't take me as well). However, I am seeing glimmers that they are returning...so thank you for being patient.

Hope you have a great week...

imagine what you could do.....

Monday, March 14, 2011

St Patrick's Day Project

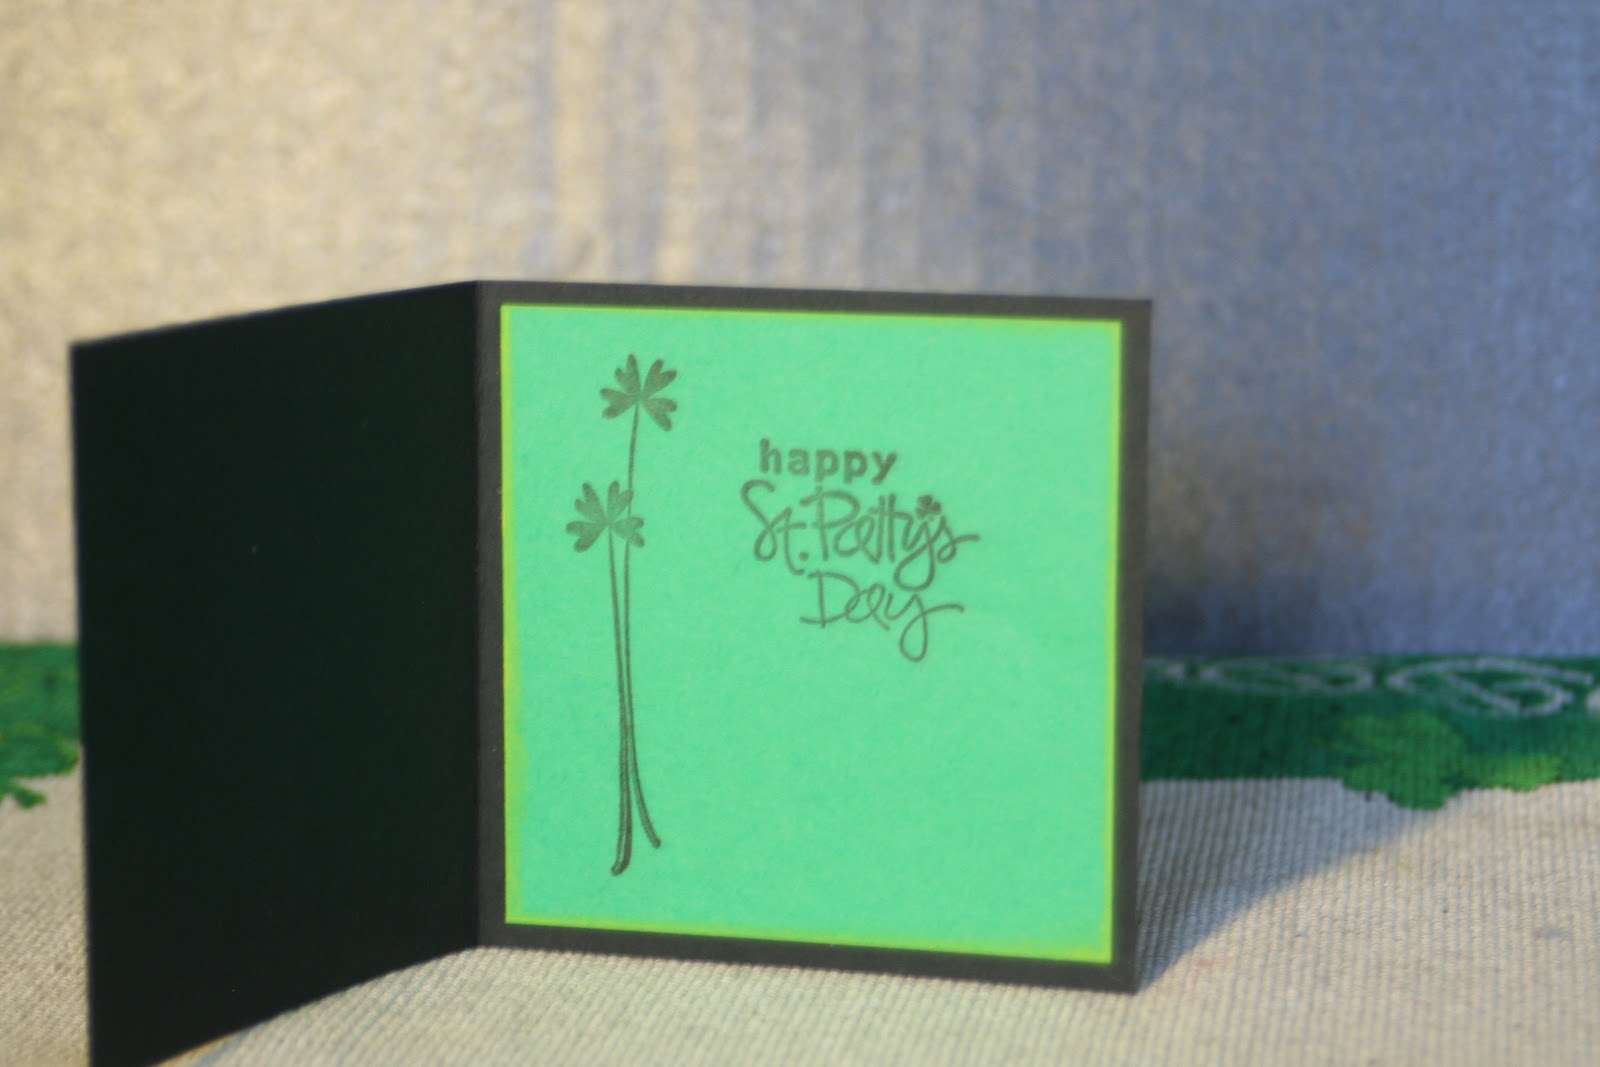
I am so excited. This is my first "official" Fantabulous Cricut Challenge as a member on the Design Team. The challenge this week is "Hip to be Square, green and gold. Create a square card shape and include the two colors green & gold (bright yellow will do)". Saint Patrick's Day came to mind as soon as I read the challenge.

Here is what I came up with:
This is the card by itself:
 the inside:
 the one side of the container (without the goodies):
and the other:

Materials

For the card:
Cardstock: Black, Bright Yellow and Green.
Cricut Cartridge Paper Doll Dress Up Leprechaun (Shamrock) page 40, (Accessories 3 Shift)
Cuttlebug Embossing Folder Swiss Dots
Three Different Studio G Clear Stamps: "Luck of the Irish", "Happy St Patty's Day" and the Tall Clover
Yellow, Green and Black Pigment Ink ( I inked the edges of the squares with opposite colors and the shamrock with green)

For the container:
Cardstock: Black, Bright Yellow and Green
Cricut Cartridge Tags, Bags, Boxes and More Nutcup page 130 (Blackout)
EK Success Scallop Circle
EK Success 1 1/4" Circle
Two Different Studio G Clear Stamps: "Happy St Patty's Day" and "Erin Go Braugh"
Black Pigment Ink
Nicole Shamrock Stickers

Misc Materials:
Tissue Paper...put on the bottom of the container
Basket Accents Metallic Shred, Gold...layer on top of tissue paper
Candy...I used Reese's Peanut Butter Cups Miniatures, Hershey's Special Dark Chocolate Miniatures and Chocolate Coins
Large Treat Bags
Green and White Curling Ribbon
Small Hole Punch

I made them up for my family as a treat for St Patty's Day.

This was a fun project. Hope you like it. Leave a comment and let me know. Thanks.

Now get out there and create something...have fun...imagine what you could do.....

Wednesday, February 2, 2011

Papercraft Star Challenge 31 - Sketch

What a difference a couple of days can make. My husband and I redid our powder room...took down wallpaper, painted, put in a new vanity/sink and put up a new light fixture. Still need the finishing touches, but wow, what a difference. Anyway...to the challenge...

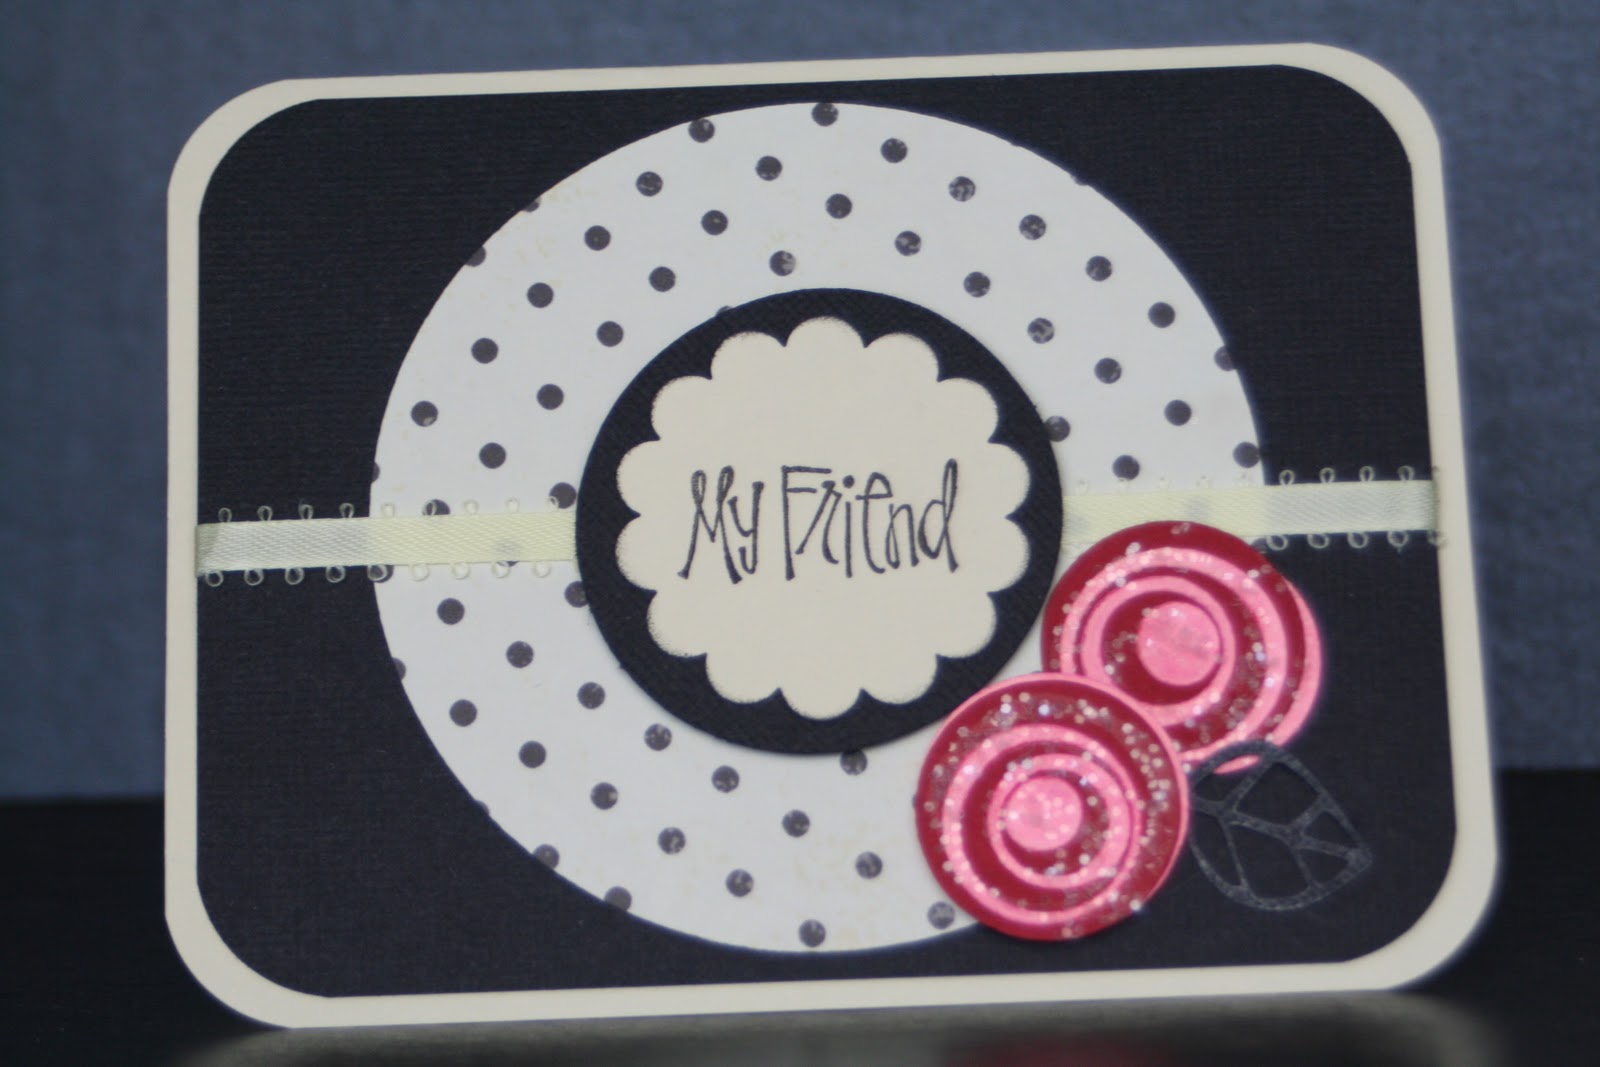
Here is my card for this week:


We had to use this sketch:


Create any project you desire using this fabulous sketch by Liz Chidester!
Finished Card: 4 1/4" x 5 1/2"

Materials:
Cardstock: Cream, Black. Dark Red, Pink and Patterned Paper
Cricut Cartridge Accent Essentials Accent 43, page 74 (Base and Shift); Accent 42, page 72 (Base)
Cricut Design Studio
EK Success Scallop Circle Punch
Studio G Clear Stamp "My Friend" and " Happy Birthday"
Black Pigment Ink
Rose Chalk (rubbed over the pink circles for the "roses"); White Chalk (rubbed over the leaf)
Glitter
Pale Yellow Ribbon
Mounting Tape

I like the way this turned out. I made this with my friend, Linda (who's birthday is Sunday) in mind. Hope she likes it.

Hope your creative juices are flowing...imagine what you could do.......

Saturday, October 2, 2010

Creations With Christina Challenge #7


This is my card for Challenge #7...make a birthday card, but you CANNOT use "Happy Birthday" sentiment. This card definitely looks better in person...the picture really doesn't do it justice. The background is embossed and both the cake and "party time" are raised up.

The last few cards have not been the typical A2 cards (4 1/4" x 5 1/2")...in fact this one is 5 1/2" x 5 1/2". The "Happy Fall" is actually  4" x 9" and fits in a business size envelope. (I forgot to include the size in the post).

Well, onto the next challenge...imagine what you could do...
Related Posts with Thumbnails