Showing posts with label Cuttlebug Herringbone. Show all posts

Friday, May 31, 2013

CardzTV Stamps Challenge "Father's Day"

The challenge this week at CardzTV is making a Father's Day project. Now don't forget, Mary always gives a set of stamps away to the winner (your choice)...so plan to get your project in. 

This is what I made:


Inside:


Finished Card: 4 1/4" x 5 1/2"

Materials:
Cardstock: White, Two Shades of Brown, Two Shades of Tan, Two Shades of Green, Teal, Black, Red, Gold, Blue and Patterned Paper
Silhouette Man Fishing Image and Flourish (partial)
CardzTV with Mary Clear Stamps It's a Guy Thing, " Fishin' You (A Happy Birthday)" and "Happy Father's Day!"
Cuttlebug Embossing Folder Tiny Mosaic Texture (Red Fish Inside) and Herringbone (Gold Fish Inside)
Darice Embossing Essentials Swirl (Green Fish on Front and Inside)
Sizzix Embossing Folder Plaid (Shirt on Front)
Sizzix Die Fish (Fish Inside)
Brown Chalk (On the Boat and Hat) and White Chalk (On Shirt)
Black Pigment Ink 
Mounting Tape

This was a lot of fun to put together. I like it when I use more than one machine or folder to make a card. I hope you like it as much as I do. Please check out the projects from the other designers...they are always so creative.

Thanks for stopping by and please leave a comment. 

imagine what you could do...


Friday, September 7, 2012

CardzTV DT Challenge #14 "Happy Holidays - Pick One!"

If you are looking for Digi Haven Challenge "Fins and/or Feathers", click here.

The CardzTV Challenge is "Happy Holidays - Pick One!" I just love Christmas. Don't you? Christmas is one of my most favorite holidays!

For this challenge, I made a card:


Finished Card: 4 1/4" x 5 1/2"

Materials:
Cardstock: Red, Green, Brown, Yellow and Patterned Paper
Cricut Cartridge Christmas Cheer Tree 1, page 88 (Shadow Base and Shift Base)
Cricut Cartridge Happy Haunting Frame 10, page 47 (Phrase Shift)
CardzTV with Mary Clear Stamps Holly Jolly "Rocking Around The Christmas Tree"
Cuttlebug Embossing Folder Herringbone
ActionWobble
Clear Glitter
Queen and Co Pearls, Grass Green and Classy Red (2 Large Red and Green, 2 Medium Red and Green and 2 Small Red and 1 Small Green)
Black Pigment Ink
Mounting Tape

The tree is on an Action Wobble...I couldn't get a picture showing the wobbling.  :(  It looks really great going back and forth. The star is glittered to give a little spark and the tree is embossed to give some texture. I thought the sentiment was perfect for the wobbling tree...lol.

Don't forget to check out the other design team projects. And also, Mary is giving away a set of stamps (your choice) to the winner of the challenge. Isn't that so nice and fun? She has some really fantastic stamp sets!

Thanks for stopping by...please leave a comment. (I would love to hear your thoughts.)

imagine what you could do...


Wednesday, February 8, 2012

Sketch...Die Cuttin' Diva's

At Die Cuttin' Diva's this week, the challenge is a sketch.

This is my card:


Here is the sketch:


Finished Card: 4 1/4" x 5 1/2"

Materials:
Cardstock: White, Green and 2 Different Patterned Papers
Inkadinkado Clear Stamps Doodle Flowers
Sugarfloaf Whispers Strokes Markers
StazOn Jet Black Ink
Spellbinders Nestabilities Labels Five, Largest
EKS Border Punch Scallop Diamond
Cuttlebug Embossing Folder Herringbone
Queen and Co Pearls, Grass Green 2 Small and 2 Large
Green Ribbon
Mounting Tape

I stamped the tulip image three times, colored and then cut it out. I single mounted the tulips on the Nestabilities cut (which is the same paper as the largest background). The "grass" at the bottom is double mounted. No sentiment as of yet. I figure I could use it for a variety of occasions...Birthday, Anniversary, Mother's Day, Thinking of you, Get well or even a Just Because.

Been playing with the markers lately, but I need to get back to the Cricut...I know it misses me...lol. It's fun to "play" with other tools that we seem to forget. Maybe there is something that you have not used in awhile? Think about it...I would love to hear what it is. Leave me a comment.

Thanks for stopping by...

imagine what you could do...

Monday, October 31, 2011

For The Birds!

HAPPY HALLOWEEN.......


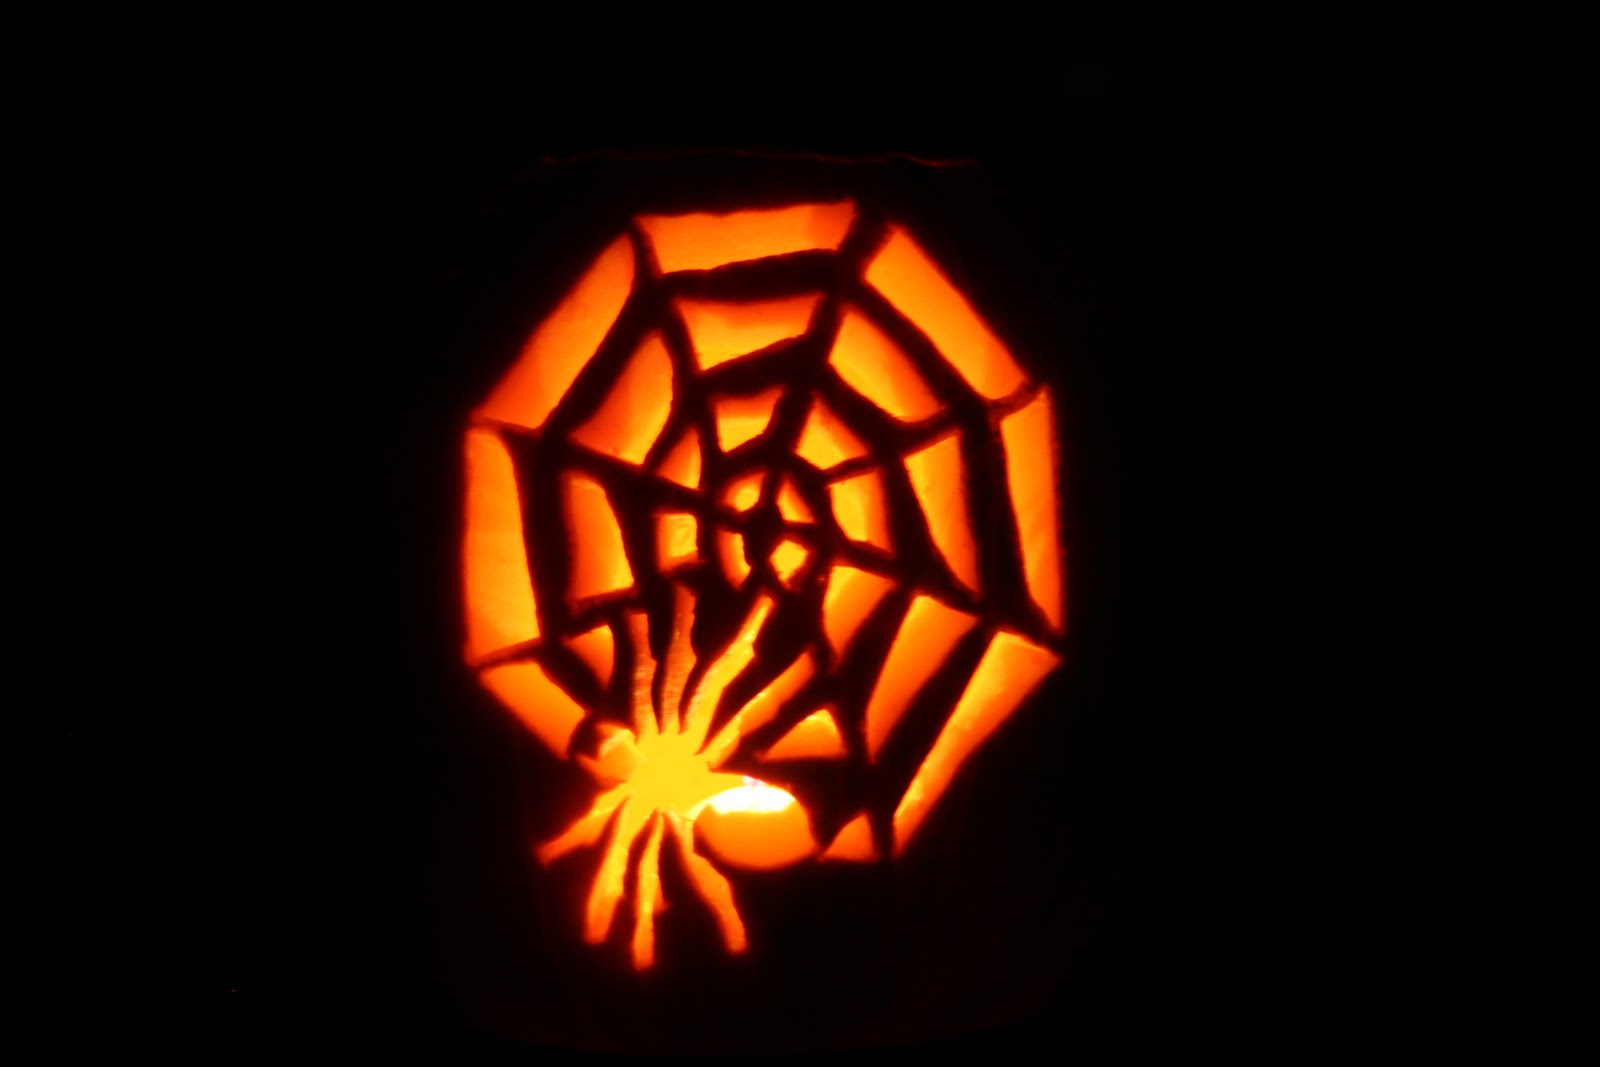
My youngest son, Jeff carved this pumpkin. Didn't he do a GREAT job?


Here is the challenge...
At Fantabulous Cricut this week, the challenge is "For the Birds". (Make a project with a bird (or turkey) or something that has to do with a bird).

This will be my last project for Fantabulous Cricut as a Design Team member...as my term is up. I am sad to see it end. I have enjoyed working with all of these talented women. I wish the next design team much success.  I hope you all still come to visit me here.

On to the card:


Finished Card: 4 1/4" x 5  1/2"

Materials:
Cardstock: White, Yellow Gold, Yellow, Gold, Black, Rust/Brown, Speckled Ivory and Three Different  Patterned Papers
Cricut Cartridge 3Birds on Parade Pilgrim, page 41 (Base, Shift, Layer 1 Base, Layer 1 Shift, Layer 2 Base  and Phrase Shift)
Cuttlebug Embossing Folder Herringbone
Gold Ribbon
Queen and Co Pearls Sunflower Yellow 2 Large and 2 Medium
Studio G Clear Stamps "Happy Turkey Day"
Brown Pigment Ink
Brown LaPlume II Marker
Mounting Tape

I know it is Halloween today, however, Thanksgiving is about 3 weeks away. (I would love to know where this year has gone!) So, I thought my pilgrim/turkey would be appropriate. The black card stock is just a scrap that is taped behind the eyes. I mounted the body of the bird over the feathers and then mounted the entire bird on the card. It may be hard to see, but I scored a line down the center of each of the feathers. I tried to use the marker to make shadows and give more dimension.

Thank you for stopping by and I hope you continue to do so. Leave a comment (I always love reading your comments).

Thank you ladies at Fantabulous Cricut...I have enjoyed working with you. Good luck in the future and I'll be seeing you at the challenges!

Take care...
imagine what you could do

Thursday, February 24, 2011

Make A Splash

I had another one of those weeks where life gets in the way of crafting.
I made this card for Fantabulous Cricut (Use embossing) and Scrappy Moms Stamps (Use Create A Critter Cartridge) Challenges.

Finished Card: 4 1/4" x 5 1/2"

Materials:
Cardstock: White, 3 Shades of Orange, Green, Tan, Clear Vellum, Clear Craft Plastic and Patterned Paper.
Cricut Cartridge Create A Critter Fish and Fishbowl page 43 (Base, Shift Base, Shift Layer 1, Base Layer 2, Shift Layer 2, Base Layer 3, Shift Layer 3); Gator/Splash drop (bird's wing) page 45 (Shift Layer 2).
Cricut Design Studio (paper placement and to stretch bird's wing to make it look like a splash drop)
Cuttlebug Embossing Folder Tiny Mosaic
Cuttlebug Embossing Folder Herringbone
Pigment Ink: White (for stones on bottom of fishbowl), 2 Shades of Blue (rubbed over the clear vellum for water and splash)
Computer Sentiment

This is how I layered the fishbowl: Clear Vellum Fishbowl, Tan Stones, Green Plants, Fish, Clear Vellum Splash, Clear Vellum Water and Clear Craft Plastic Fishbowl. (Not sure is you can see the top clear layer...looks really cool in person).

Well, the new Expression is working very well...in fact, I only had to cut the cardstock once (instead of twice) and the clear craft plastic cut with only two cuts. The last time I tried to cut the plastic with the old machine, it never cut all the way through, even after 4 cuts. So, this was pretty exciting...lol. (It's the little things..you know!)
 
Hope you like the card. Leave a comment/become a follower...only 14 to go for 50 followers...Would love to hear from you. Thanks....imagine what you could do....

Friday, August 20, 2010

Layout Niki


I haven't put together a layout in a while, but since we just adopted our little girl, Niki, I thought that I would create one for her. We adopted her from a local shelter. She is a sweetheart, but a bundle of energy at 9 months old and every bit of a puppy. She tries to chew anything not nailed down...lamp plugs, sneakers, baskets...lol. We're just taking it one day at a time.

The photos and paper dog are double mounted with cream and brown cardstock. The heading "NIKI" and "Aug 2010" are cut from Cricut Cartridge George and Basic Shapes, cut at 2 1/4" and 1" respectively. I used the negative image and cut it straight about 1/2" under "NIKI". This way the background paper shows through. The dog  is cut from Cricut Cartridge Paper Pups at 3 1/2". I cut it once in white with the blackout key and once with the base cut in brown cardstock. Instead of just using the outline, I cut off the bottom of the feet, tip of the tail, a "v"at the neck and around the nose in order for the white to show through where Niki has white fur. I colored her eyes. After the dog is layered, I used Cuttlebug Herringbone Embossing Folder. I cut "woof" also from Paper Pups at 1 1/2". I did the same with "woof" as with "NIKI" by using the negative image and cutting the paper straight across. After everything was mounted, I stuck on some doggie prints from some stickers I had.

Now imagine what you could do....
Related Posts with Thumbnails